- Find a right wall
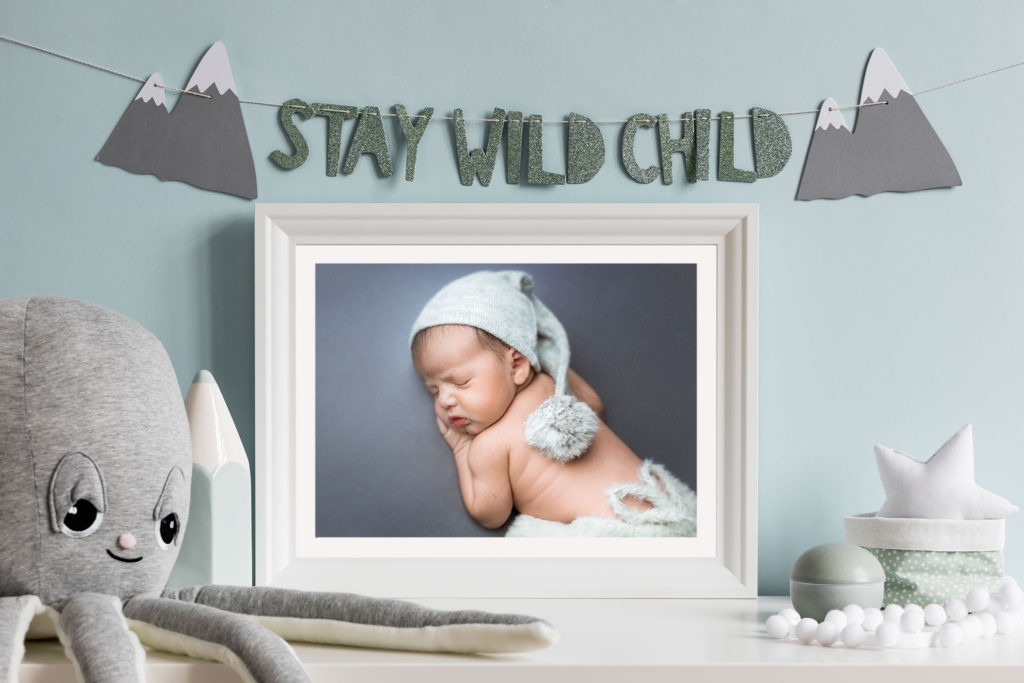
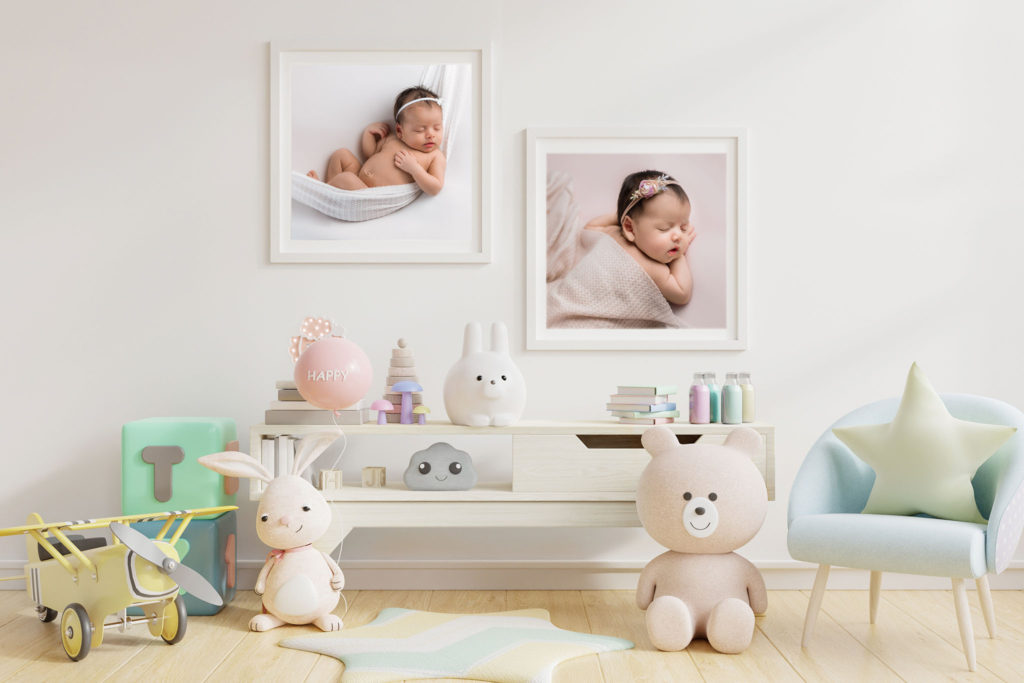
Look around your home and identify empty walls. For the sake of making this process as easy as possible, I’ll direct you to the baby’s nursery or playroom. Is there some empty space above a dresser or a rocking chair? Perfect, you’ve got your location!

- Choose your photographs
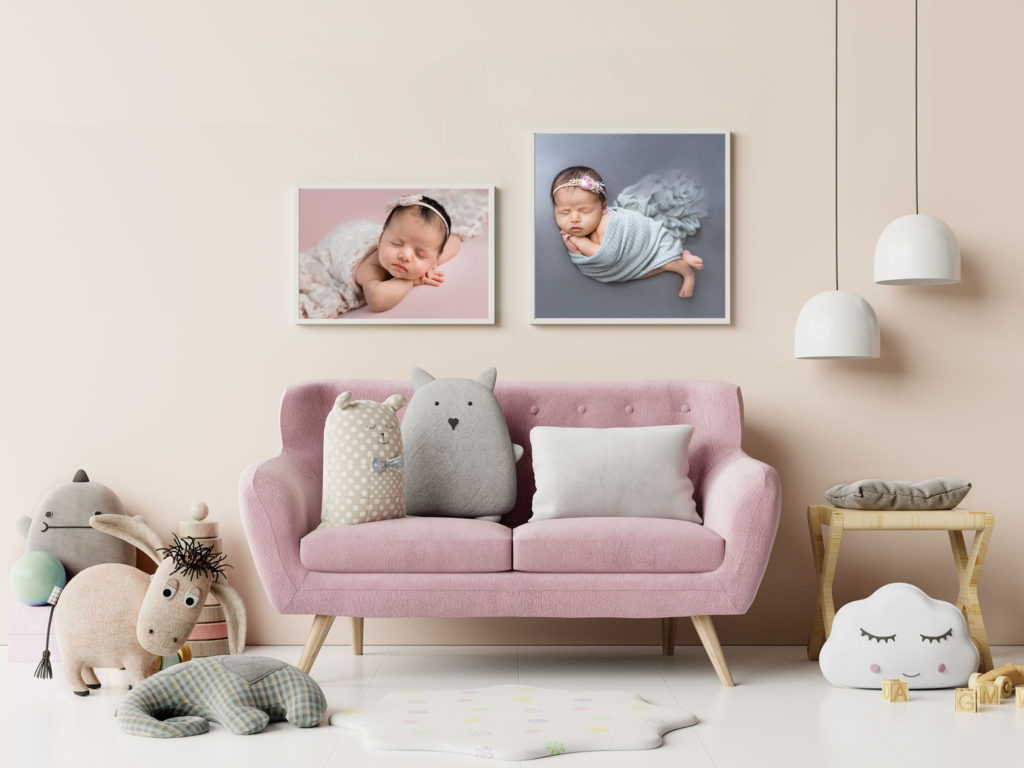
Select 1 to 5 photographs from your newborn session that make your heart warm every time you look at them. If arranging an entire wall gallery sounds overwhelming, start with just one or two favorite images and print them in larger sizes (16×24” is a good place to start).
- Choose the frame
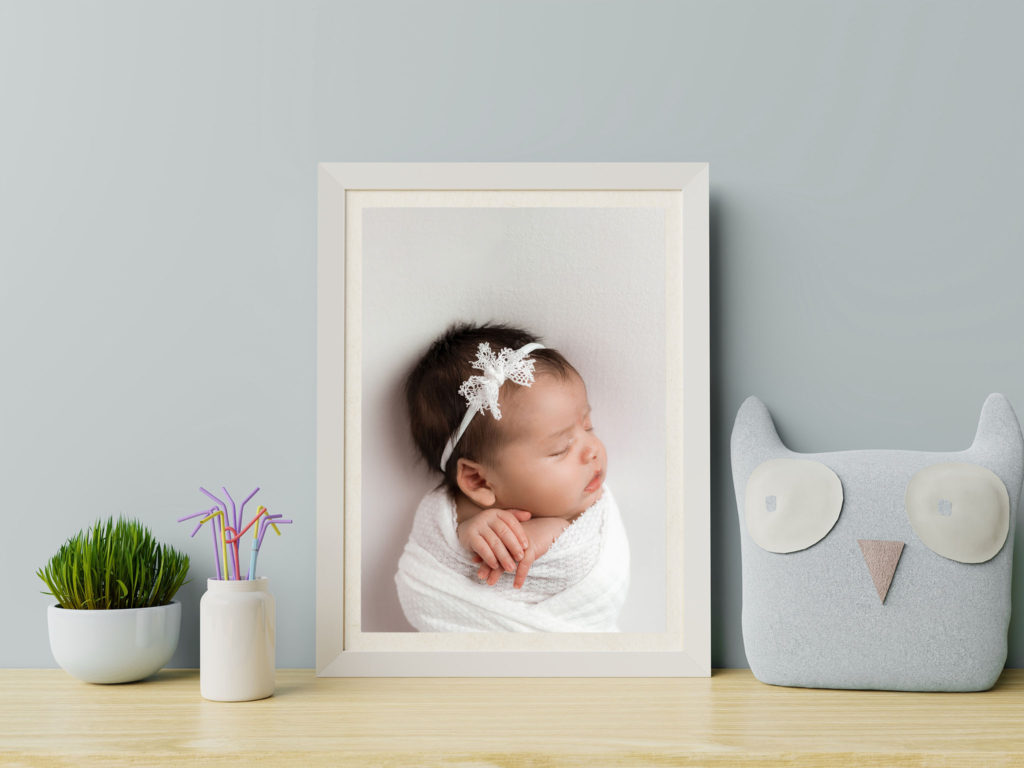
If you start looking up frame designs, you’ll see that choices are endless and you may end up going down a rabbit’s hole. So make it simple. Match the color of the frame to the color of the furniture. Easy! Plus, simple is classic and timeless. You’ll never get bored of it and can always add more prints and frames in the future. When buying a frame, make sure it has a nice mat, this will protect your print from sticking to the glass.

- Display and Enjoy
Now all that’s left is simply placing the frame on the dresser or hanging it on the wall. (I often use 3M Velcro Command strips to avoid holes on the walls). Once you’ve displayed your favorite photographs in your baby’s nursery or playroom, step back and admire your baby’s tiny fingers and toes.

Your newborn will grow and change so fast. These images will be a constant reminder of what matters most in your life, and will help you relieve these fleeting moments over and over again.
If you’d like help printing professional quality photographs and designing a custom wall gallery for your home, I’m happy to answer any questions. Click the link below and let’s chat.